


RaceLine Official Training Partner

Getting ready for Tour de Gwent means more than just training your bike needs to be race-ready too. This guide covers key gear checks like tyres, chain, brakes, and more to ensure your ride is smooth and reliable. Avoid mechanical issues on race day by knowing exactly what to inspect and how to tune up your bike before the big event.


How To Prepare For Tour de Gwent: Bike Essentials Check
Getting ready for the Tour de Gwent isn’t just about putting in the miles it’s about making sure your bike is ready for the challenge. Mechanical issues can ruin months of training and planning.
As the Official Training Partner of the Tour de Gwent, Raceline Coaching wants you to have a smooth, stress-free ride. Here’s our complete, no-nonsense checklist to get your bike event-ready.
Why a Pre-Ride Bike Check Matters
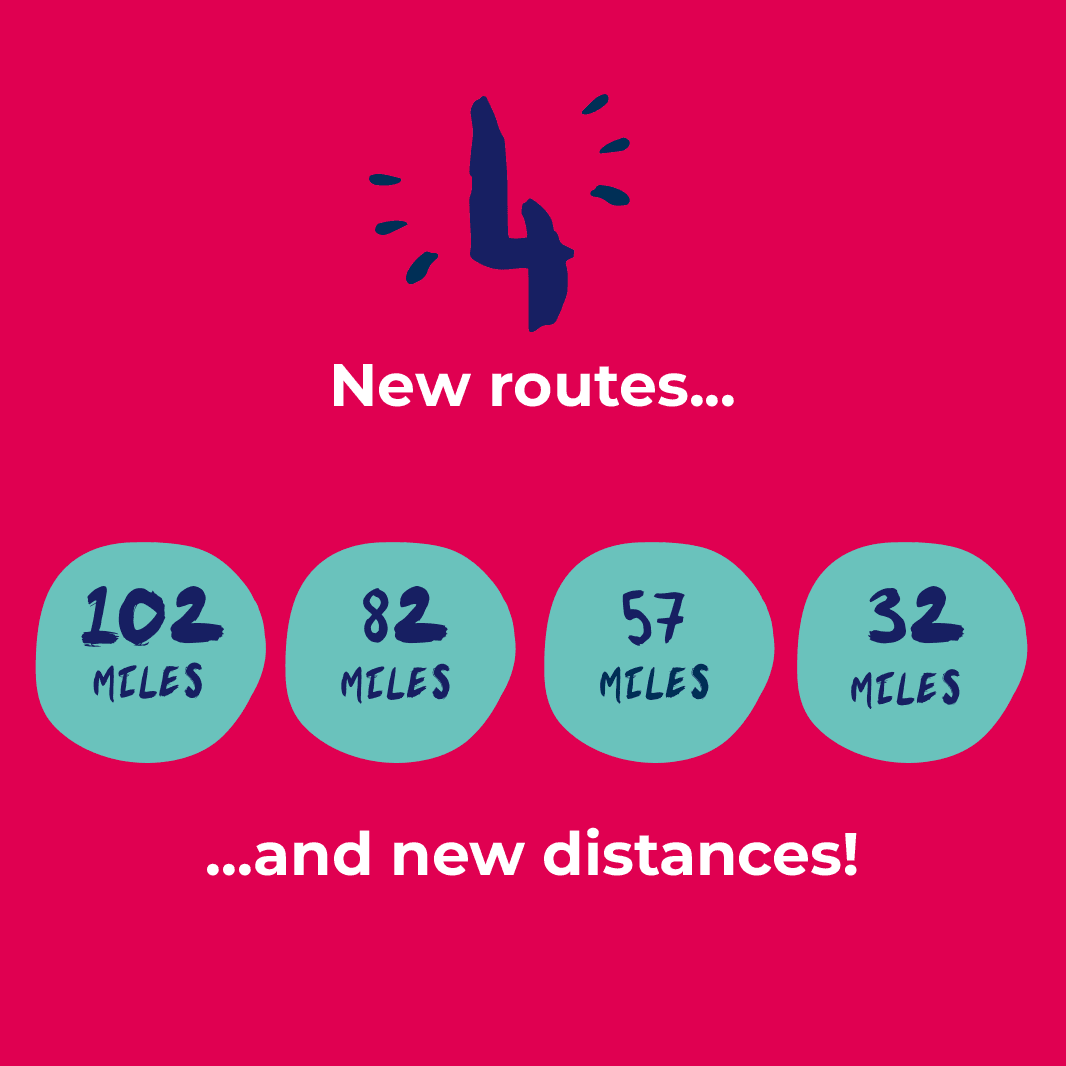
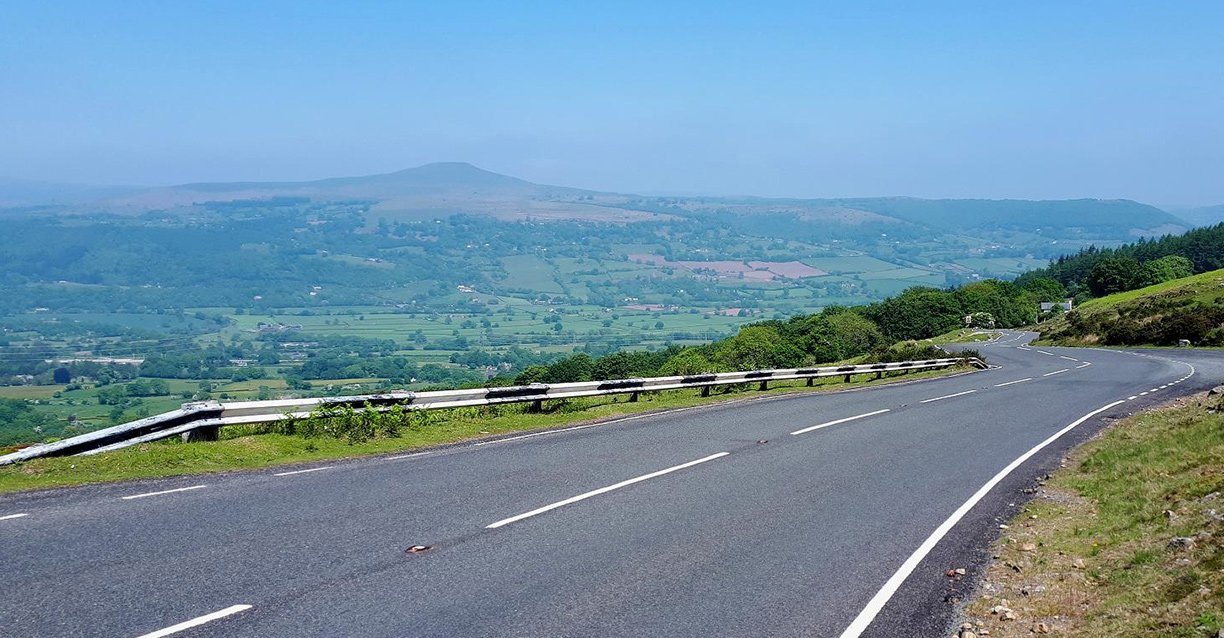
The Tour de Gwent offers four routes, from the scenic 32-mile Bronze route to the demanding 102-mile Platinum challenge featuring the iconic Tumble climb. Whichever you choose, you’ll be covering varied terrain and need a bike that’s reliable, comfortable, and safe.
A well-prepared bike:
Improves efficiency and comfort over long distances
Reduces the risk of mechanical failures
Ensures safe braking on fast descents
Lets you focus on riding your best
The Tour de Gwent Bike Essentials Checklist
Here’s exactly what to check, service, or replace before event day.
1. Tyres and Tubes
Your tyres are your only contact with the road, so make them count.
Check for wear, cuts, or cracks. Replace if needed.
Inflate to the recommended pressure (found on the sidewall).
Remove any debris like glass or stones.
Pack at least two spare tubes or patches, tyre levers, and a reliable pump or CO2 inflator.
Pro tip: Fresh tyres are cheap insurance against punctures.
2. Brakes
Safe braking is critical, especially on descents.
Inspect brake pads and replace if worn.
Clean rim surfaces (for rim brakes) or discs.
Test the brake levers for firm, responsive stopping.
Make sure calipers are properly aligned without rubbing.
3. Drivetrain (Chain, Cassette, Chainrings)
An efficient drivetrain saves energy over long miles.
Clean and degrease your chain thoroughly.
Lubricate lightly and wipe off excess.
Check chain wear with a chain checker.
Inspect cassette and chainrings for worn teeth.
Test shifting through all gears to confirm smooth operation.
4. Gears and Indexing
Reliable shifting is essential for steep climbs like the Tumble.
Shift through all gears under load to check smoothness.
Adjust indexing if you hear noise or experience hesitation.
Inspect cables and housing for fraying or corrosion.
For electronic groupsets, ensure the battery is fully charged.
5. Wheels and Hubs
Your wheels must be true and smooth-spinning.
Spin each wheel to check for wobbles or hops.
Inspect spoke tension and adjust if needed.
Check hubs for smooth rotation without play.
Clean the braking surface or discs.
6. Headset and Bearings
A loose headset or noisy bearings can ruin handling.
Hold the front brake and rock the bike to check for play in the headset.
Turn handlebars side to side to confirm smooth movement.
Listen for creaks from the bottom bracket or headset and service if needed.
7. Bolts and Torque
Loose bolts can lead to serious failures.
Check all bolts, including stem, seatpost, handlebars, and bottle cages.
Use a torque wrench to match manufacturer specifications, especially on carbon parts.
8. Cockpit Setup
Comfort and control are key for a long event.
Set saddle height correctly to avoid injury.
Ensure handlebar alignment is straight.
Inspect bar tape or grips for wear.
Check mounts for lights or GPS units.
9. Accessories for the Ride
Don’t forget the essentials for the event itself.
Two water bottles to stay hydrated.
Saddle bag with tubes, levers, multitool, CO2 or pump.
Rain jacket or windproof layer if the weather looks changeable.
Energy food or gels in your jersey pockets.
Fully charged bike computer and lights if needed.
Remember Yourself, Too
Your bike isn’t the only thing that needs preparation.
Practice changing a tube before you need to.
Train using the same kit you’ll wear on event day.
Plan your nutrition and hydration strategy.
Stay calm if something does go wrong—being prepared turns a problem into a minor delay.
Final Thoughts
Whether you're tackling the Bronze, Silver, Gold, or Platinum route, a properly prepared bike makes the Tour de Gwent safer, faster, and more fun.
At Raceline Coaching, we don’t just help you train we help you think through the entire event, from fitness to equipment and race-day strategy.
Need help with training plans, pacing strategy, or last-minute questions? Get in touch today. Let’s get you to the start line ready for your best Tour de Gwent yet.
Increase Your Fitness
